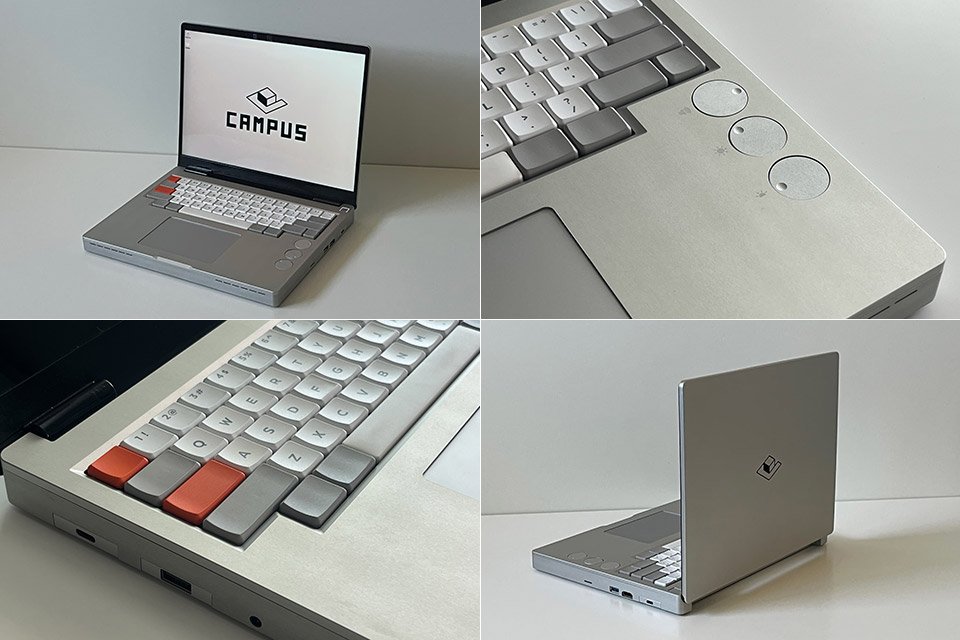
A laptop keyboard can make or break the user experience. For inventor Flurples, the Framework 13’s membrane keyboard felt like a compromise, a squishy afterthought in an otherwise great machine. Instead of giving up, he started on a big project to rebuild the laptop from the ground up, and created a custom version called the Campus.
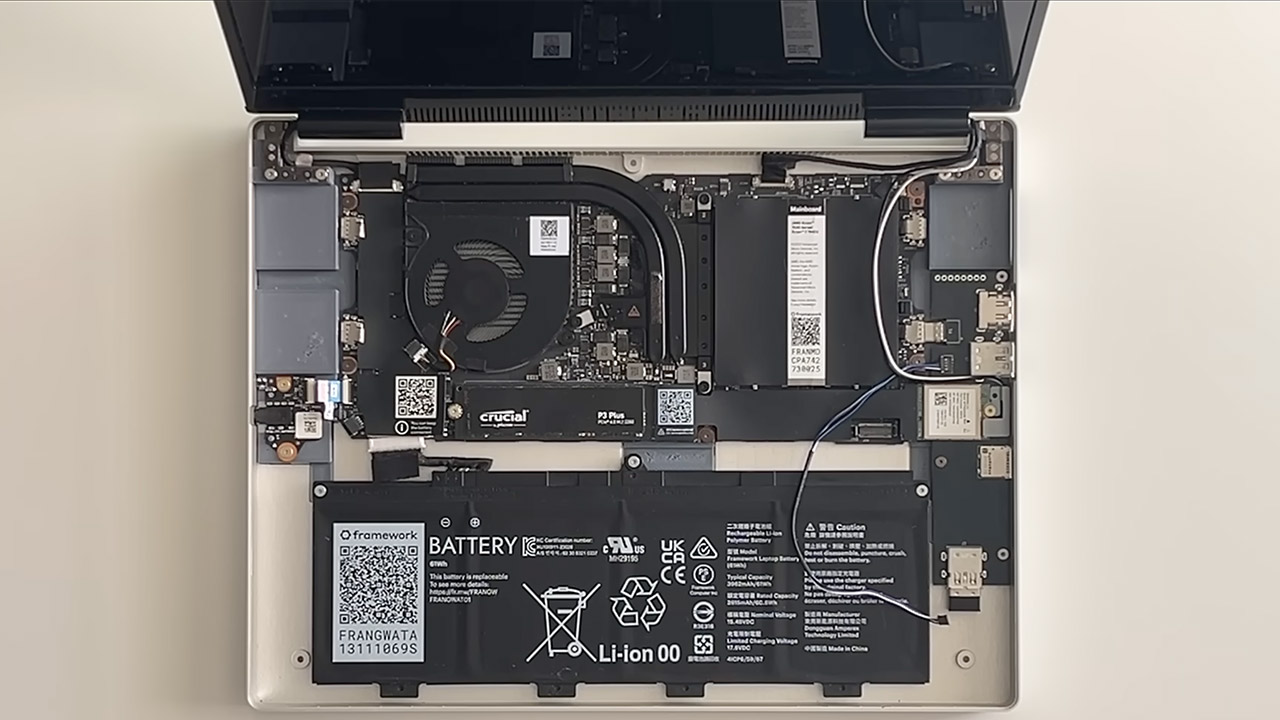
Flurples started with the Framework 13, a laptop known for its modularity. Its removable parts and expansion card system make it a tinkerer’s dream, where you can swap out the battery or ports easily. The keyboard was functional but lacked the satisfying click of a mechanical design. To fix this, Flurples proposed a complete chassis redesign, including a new mechanical keyboard and tactile controls for volume, screen brightness and keyboard backlighting. His goal was clear: keep the Framework’s modularity while making it feel solid, purposeful and ridiculously fun to use.
More than half of the parts had to be measured manually with calipers, a time consuming process that took hours of precision. He documented every dimension on his iPad, creating a complete reference library. These measurements would be the foundation of his design, ensuring the new chassis would fit the laptop’s internals while still allowing for his upgrades.
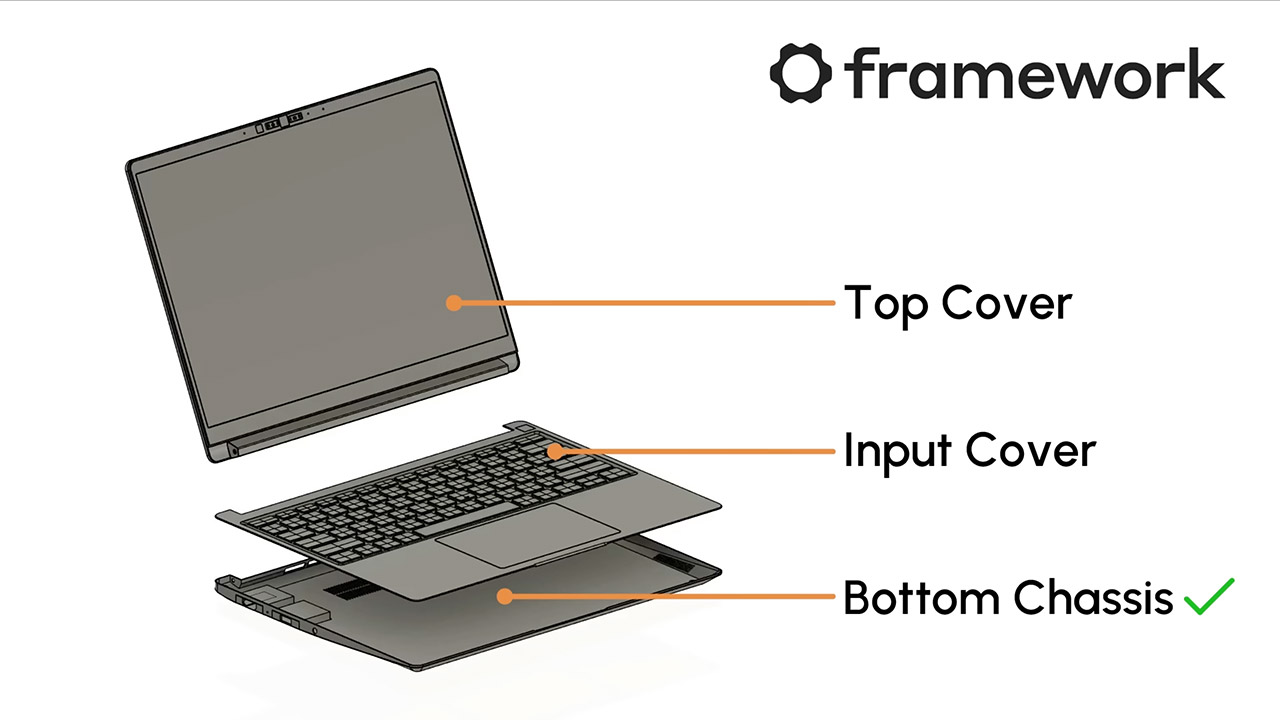
With measurements in hand, Flurples used Fusion, his go-to CAD software, to build the new chassis. He started with the mainboard, the heart of the laptop, and planned the placement of the audio and Wi-Fi modules that attach to it. From there he built a three part chassis: a bottom tray for the motherboard and batteries, an input cover for the keyboard and trackpad, and a top cover for the display and camera. The bottom chassis would be the solid base, while the input cover would be the focal point of his design, housing a custom mechanical keyboard and three rotary encoders for analog control.
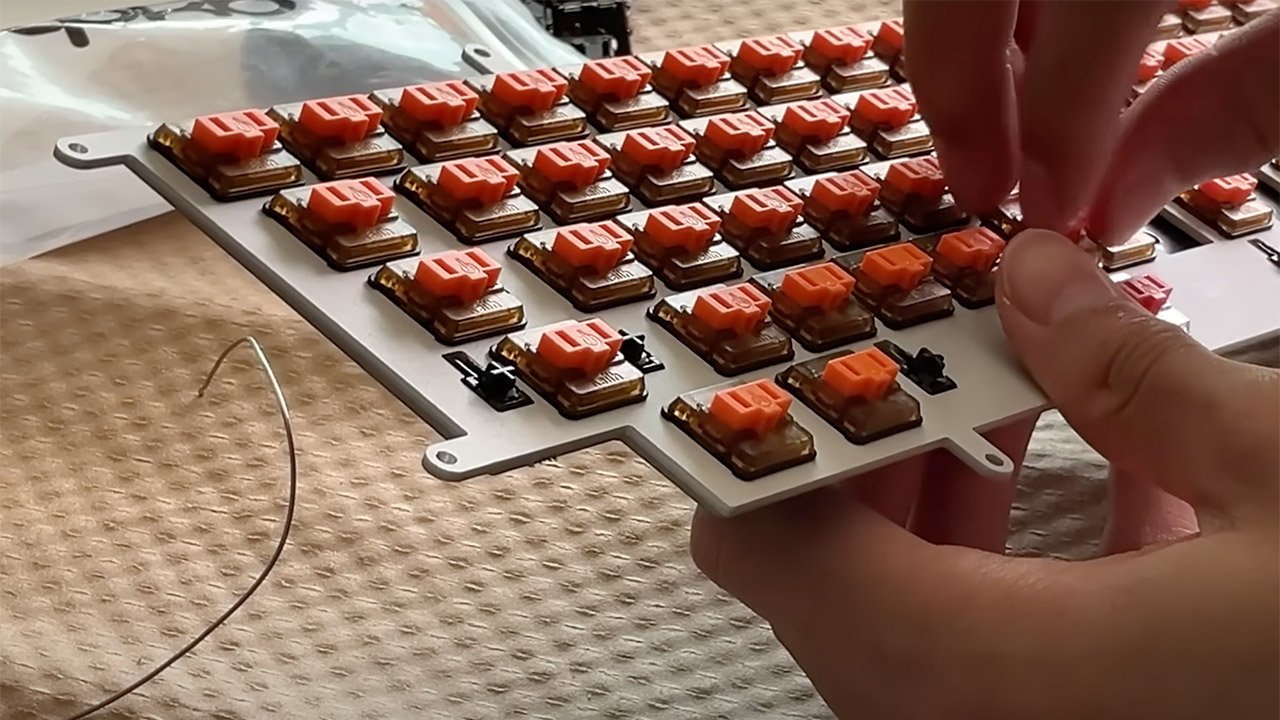
He chose Kailh Choc Sunset tactile switches for their sound and feel, which have roughly the same travel as a Cherry MX switch but in a smaller profile. He went with a 60% HHKB layout, a small layout inspired by premium keyboards like the HHKB Hybrid Type-S. To keep the typing experience consistent he used a gasket mounted system with silicone O-rings between the switch plate and screws to create a soft buffer. This eliminates the uneven sound and feel of laptop keyboards where the edge keys are different from the center keys. The keyboard PCB was designed to support the switches, three rotary encoders and a USB hub, all of which are programmed with QMK software for advanced customization features like programmable layers and mod taps.
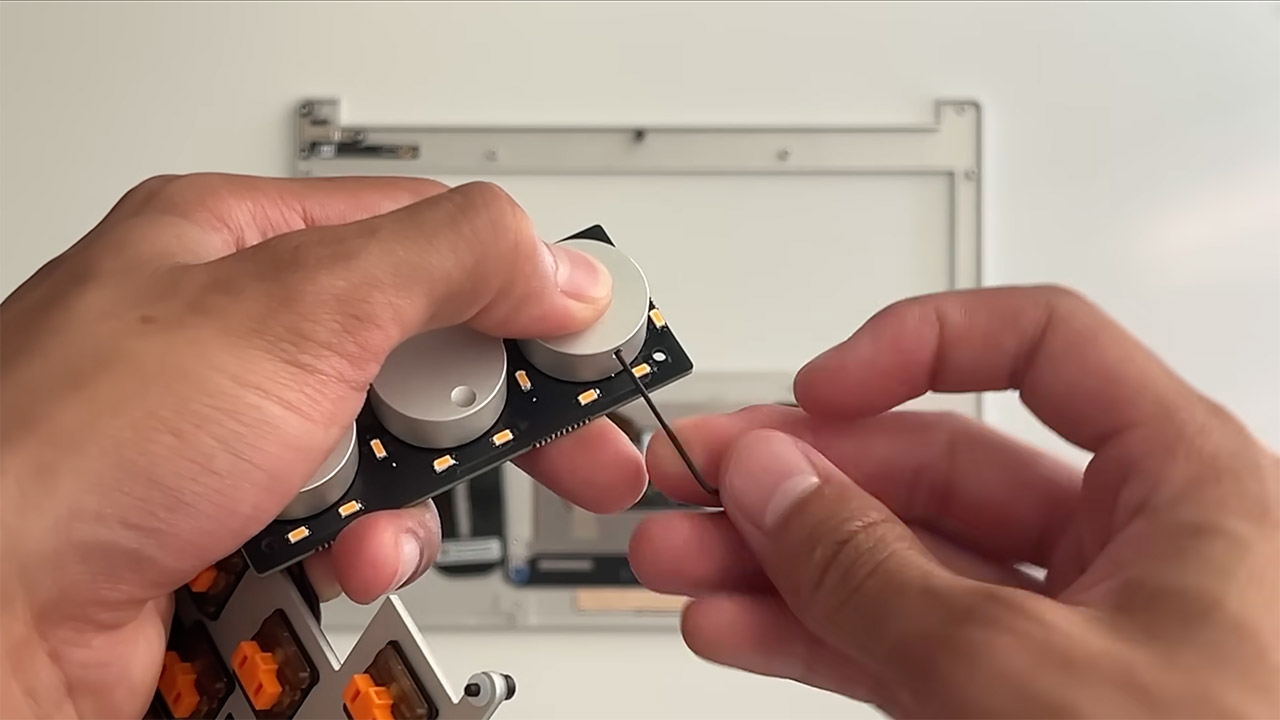
The rotary encoders were a nice touch, adding a tactile dimension missing from most modern laptops. These dials along the right edge of the input cover controlled volume, screen brightness and keyboard backlight. Flurples created custom knobs that sit flush with the case and are milled to match the laptop’s aluminum finish. They rotate smoothly and click satisfyingly, a direct analog interaction that feels like a middle finger to software controlled ultrabooks.
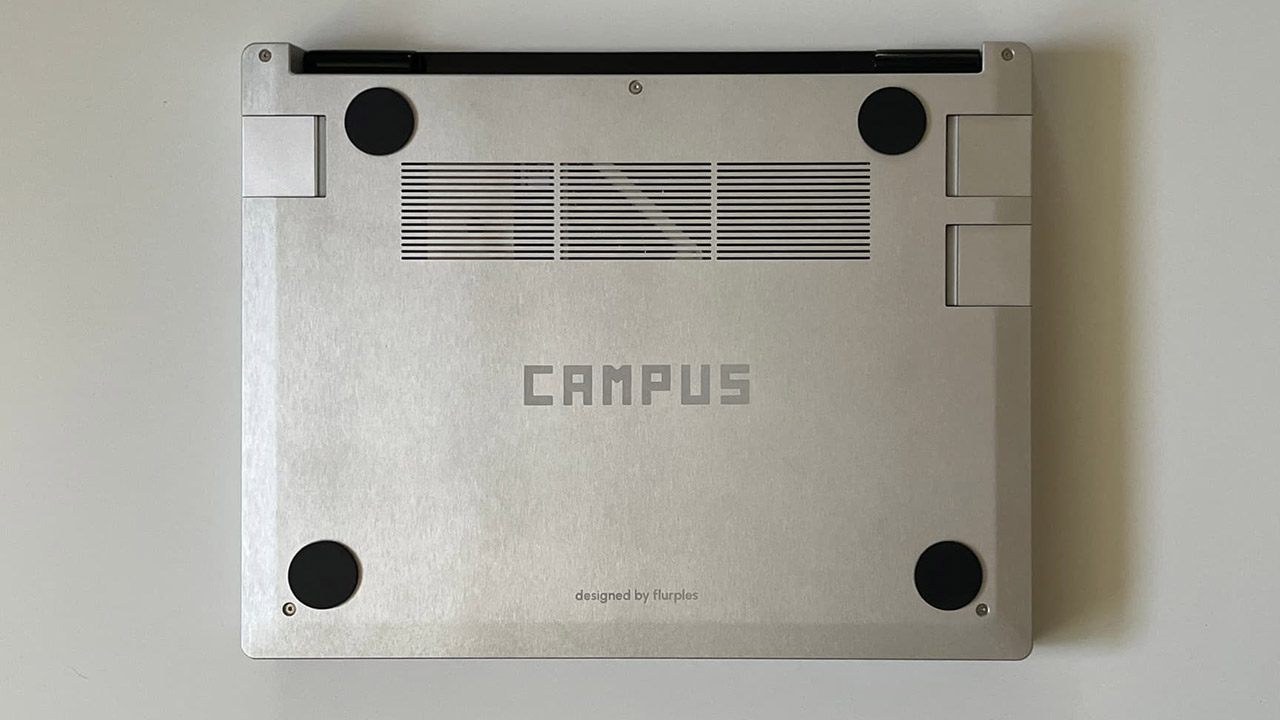
The case itself was a big departure from the Framework 13’s compact design. It’s made of CNC machined aluminum and is thicker to accommodate the mechanical keyboard and a bigger battery, but Flurples prioritized typing experience over battery life. The extra thickness also helps with thermal management which is a nice bonus. To test his concept he 3D printed prototypes to test fit and ergonomics, he moved the trackpad slightly off center for better hand alignment and lowered the keyboard depth for more wrist comfort.
The top cover had its own set of problems, as the Framework’s original design had a magnet secured bezel which required precision injection molding and was not feasible for a one off. Instead, Flurples used a 3D printed bezel with double sided tape and sanded and painted it gloss black to match the original. He also left out the privacy settings for the webcam and microphone as their small size was impossible to 3D print. The lid also served as a Wi-Fi antenna with conductive pads attached to the Wi-Fi board but Flurples noticed worse reception than the original, a small problem he’ll fix in future versions.
[Source]